1
Create a Lexicon account
Go to app.lexiconjs.com and create a free account.
2
Get your publishable key
Grab your publishable key from your dashboard’s API Keys tab and save it for later.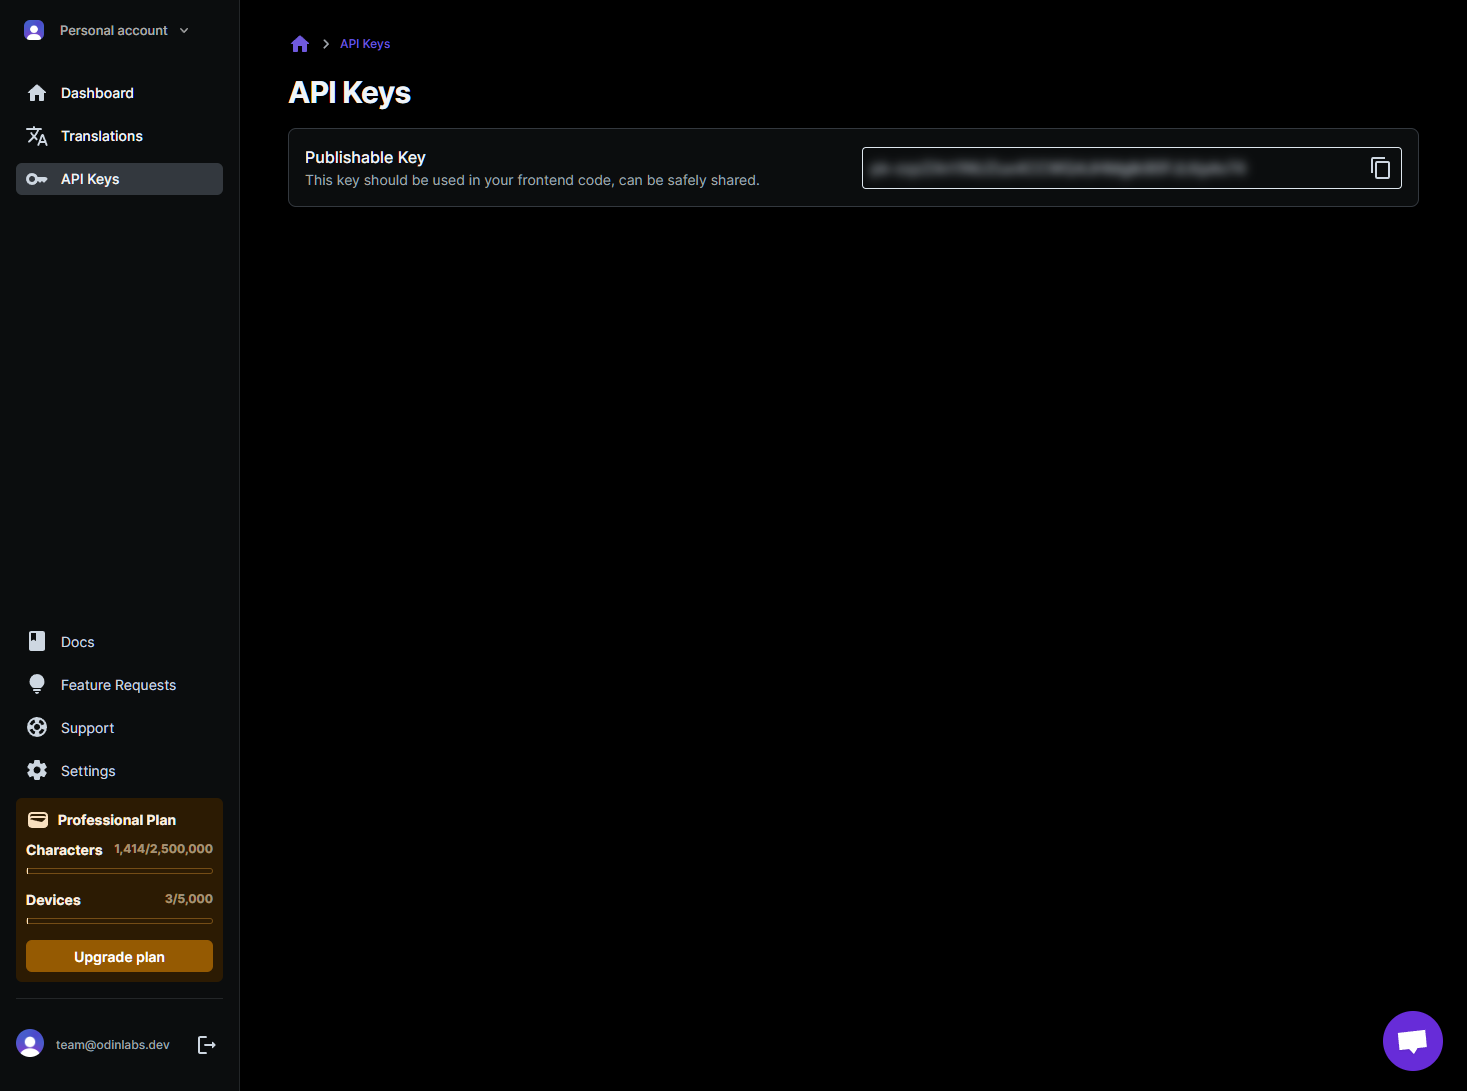
3
Install the @lexiconjs/react module
Add the @lexiconjs/react package to your existing project.In a terminal window run:
4
Install and configure the react-native-mmkv module (only for React Native)
If your app is using React Native, you will also need to add the react-native-mmkv package to your existing project and ensure it’s properly linked using one of the instruction sets below (Expo or React Native).We use this package to ensure caching is as fast as possible on mobile devices. You can review their docs for more details.
React Native
In a terminal window run:Expo
In a terminal window run:5
Wrap your app in <TranslationProvider />
The Make sure to replace the
<TranslationProvider /> component enables the automatic translation of your app’s text inside of other components. Import it into your codebase by adding import { TranslationProvider } from "@lexiconjs/react" at the top of your entry file and then wrap your app with it.PUBLISHABLE_KEY with the key you found in your dashboard.6
Use Lexicon components to translate your app
The simplest way to translate text is to simply wrap some text with the
<TranslatedText /> component. It will detect the user’s locale via their device settings and generate a translation in real time. Afterward, it stores the translation in a local cache to ensure everything stays as fast as possible.