What is a Translation File?
A translation file is basically just a big JSON file containing translations for all of the content within your app. You would generate it in your Lexicon dashboard and then import it into your app as shown below.Why Should I Bother?
Technically, you don’t have to! Lexicon will work out of the box without doing this additional setup. However, you can reduce the number of translation credits you consume and speed up load times by generating this file upfront.How it Works
When loading translations in your app, Lexicon will try several things to ensure translations are loaded as fast as possible with as little cost as possible. Let’s work through an example to help explain how things work behind the scenes. Let’s say you wrote an app in “en-US” [English United States] and a user with a device set to “es-ES” [Spanish Spain] opens your app. We will do the following for every piece of content in your app:- First, we check to see whether your translation file contains an entry for the content translated to “es-ES” [Spanish Spain].
- If we do not find an entry for “es-ES” [Spanish Spain] AND you have left fallbackToBaseLanguage as
truein yourTranslationProvider(this is the default setting), then we will check to see whether your translation file contains an entry for the content translated to “es” [Spanish]. This would be the most common scenario if you’re using translation files since it’s hard to translate an app ahead of time for every single possible dialect (we usually recommend just translating the base language to save time). - If we could not find an entry in your translation file, we will then check the local device cache to see if we had previously translated this particular content to avoid re-querying the backend. This would be the very first step we perform if you have not provided a translation file.
- If we could not find an entry in the local device cache, we will then fall back to generating a fresh translation in our backend. This is the only scenario where you may see a few milliseconds of delay when loading translations. However, you should only see this delay when loading new content (all old content will be cached after the first time it’s generated).
How to Generate a Translation File
In order to generate a translation file, you will need to go through your app in the languages you would like to pre-load the app with. We’d love to make this more automated, but we can’t see the content within your application until after you go through all of the various screens. It’s still much easier than generating translations by hand!Modify Your Provider
After you’ve gone through the quickstart guide and finished adding Lexicon to your app, you will need to provide thetargetLanguage prop to your TranslationProvider and set it equal to whatever language you’d like to include in your translation file.
Go Through Your App
Next, you’ll need to go through your app in order to generate the translations for every screen. Make sure you go through your onboarding process and any edge flows to ensure you cover as much content as possible! We can still generate translations on the fly if you miss any, so don’t worry too much.Download Your Translations
Once you’ve gone through your app, your translations should be ready to go! You can view them in your Lexicon dashboard and download your translation file. Simply click “Download Translation File”.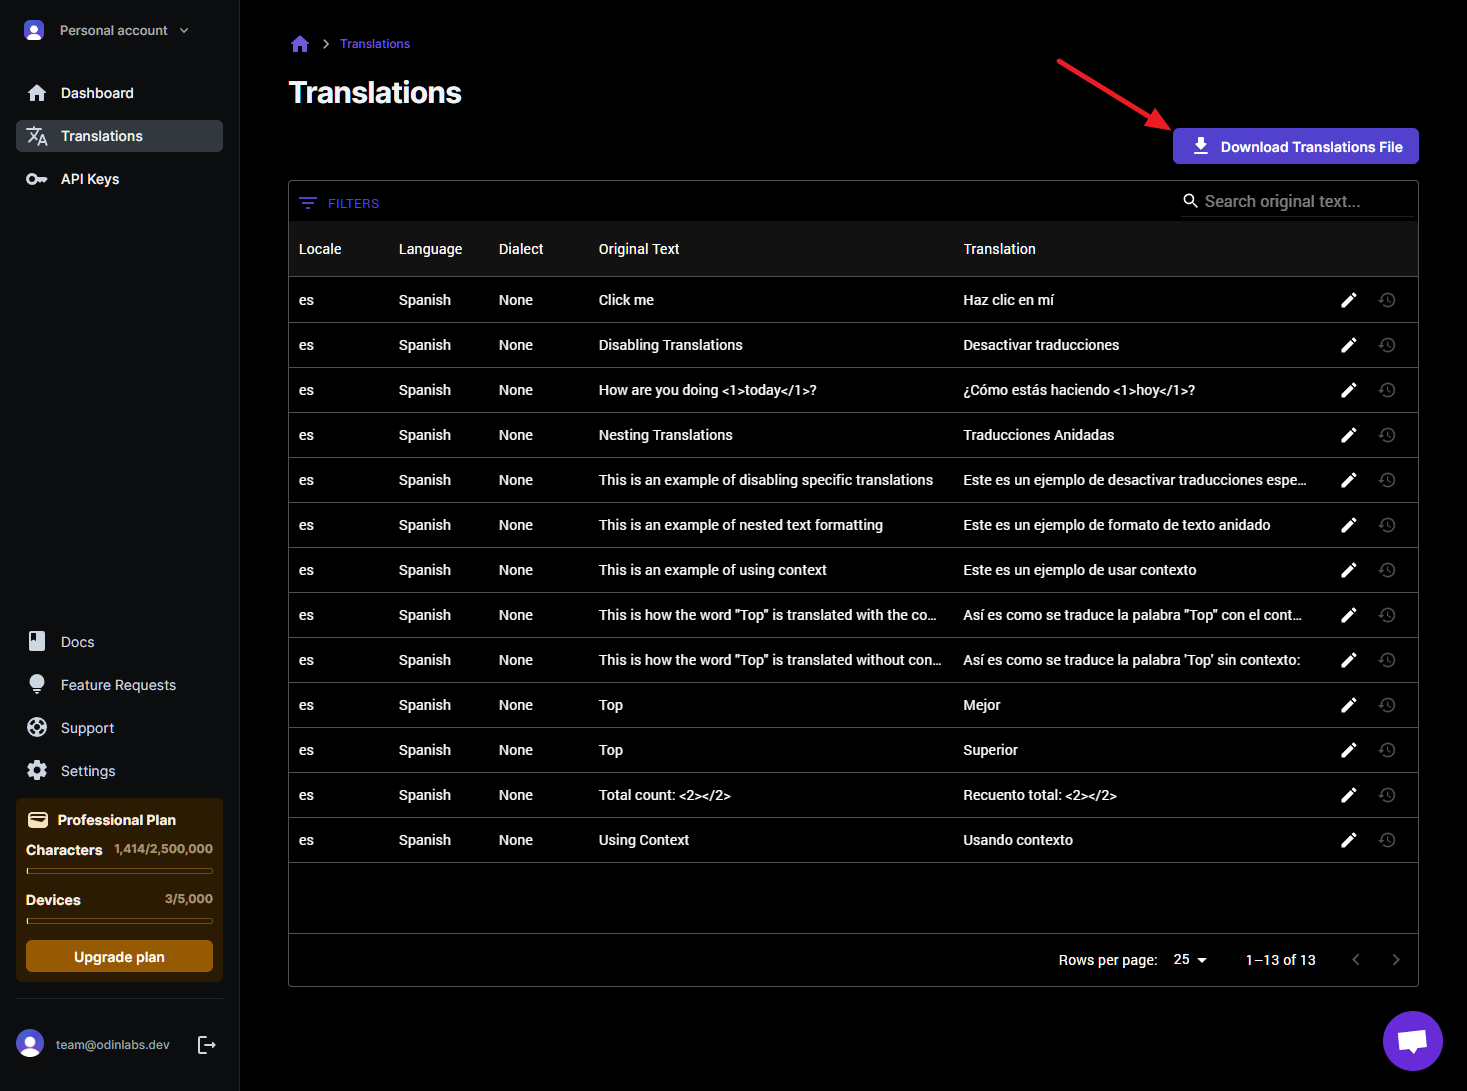
Import Your Translation File
Finally, you just need to include your translation file in your code. Import it wherever you have your TranslationProvider and pass it into thetranslations prop.
targetLanguage prop once you’re done generating translations or your app will just always be in Spanish!